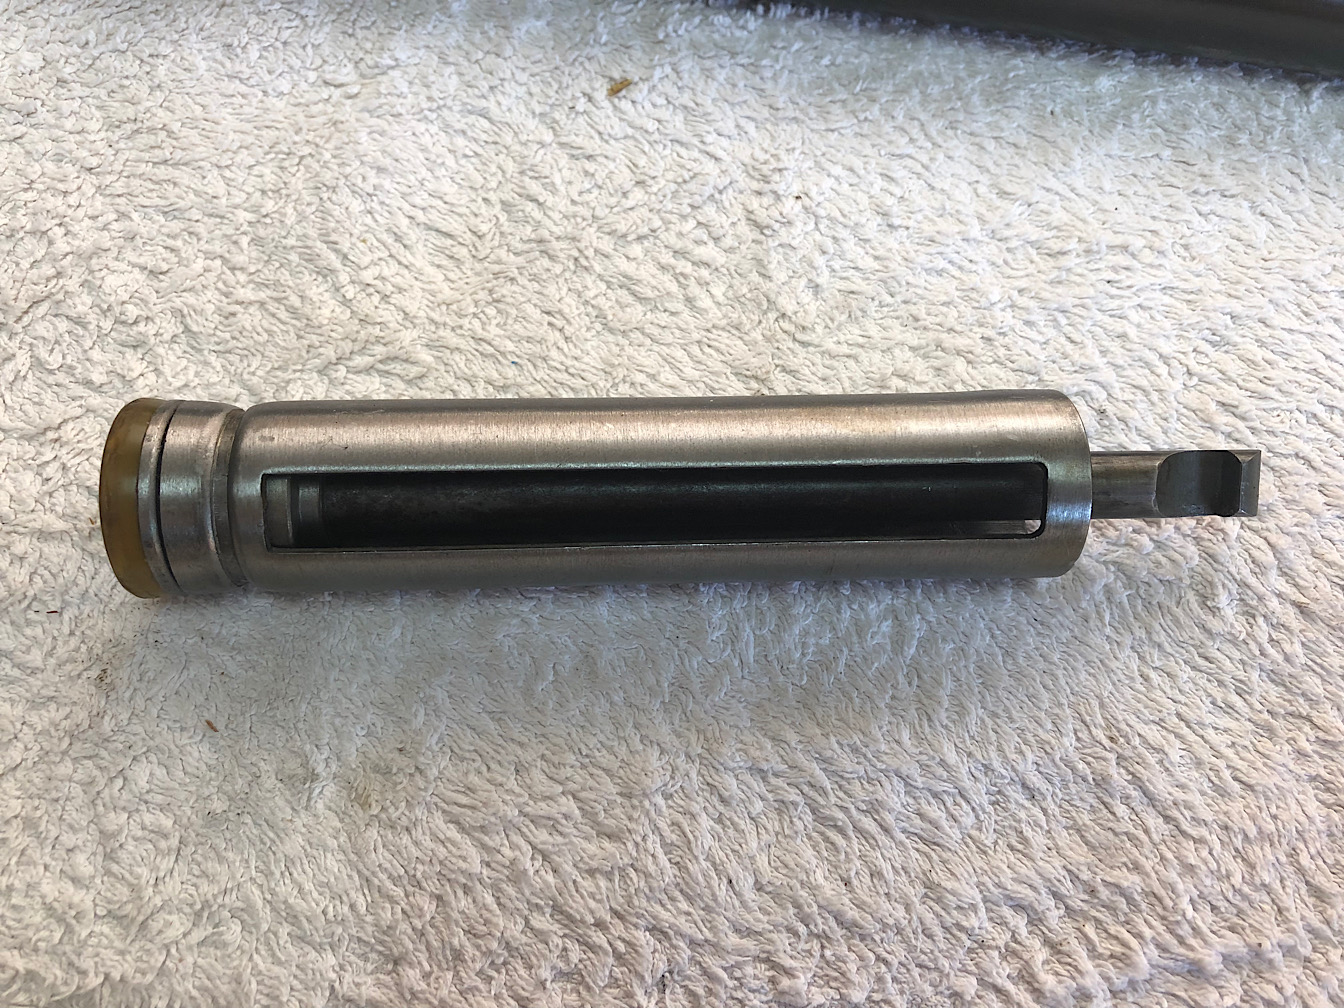
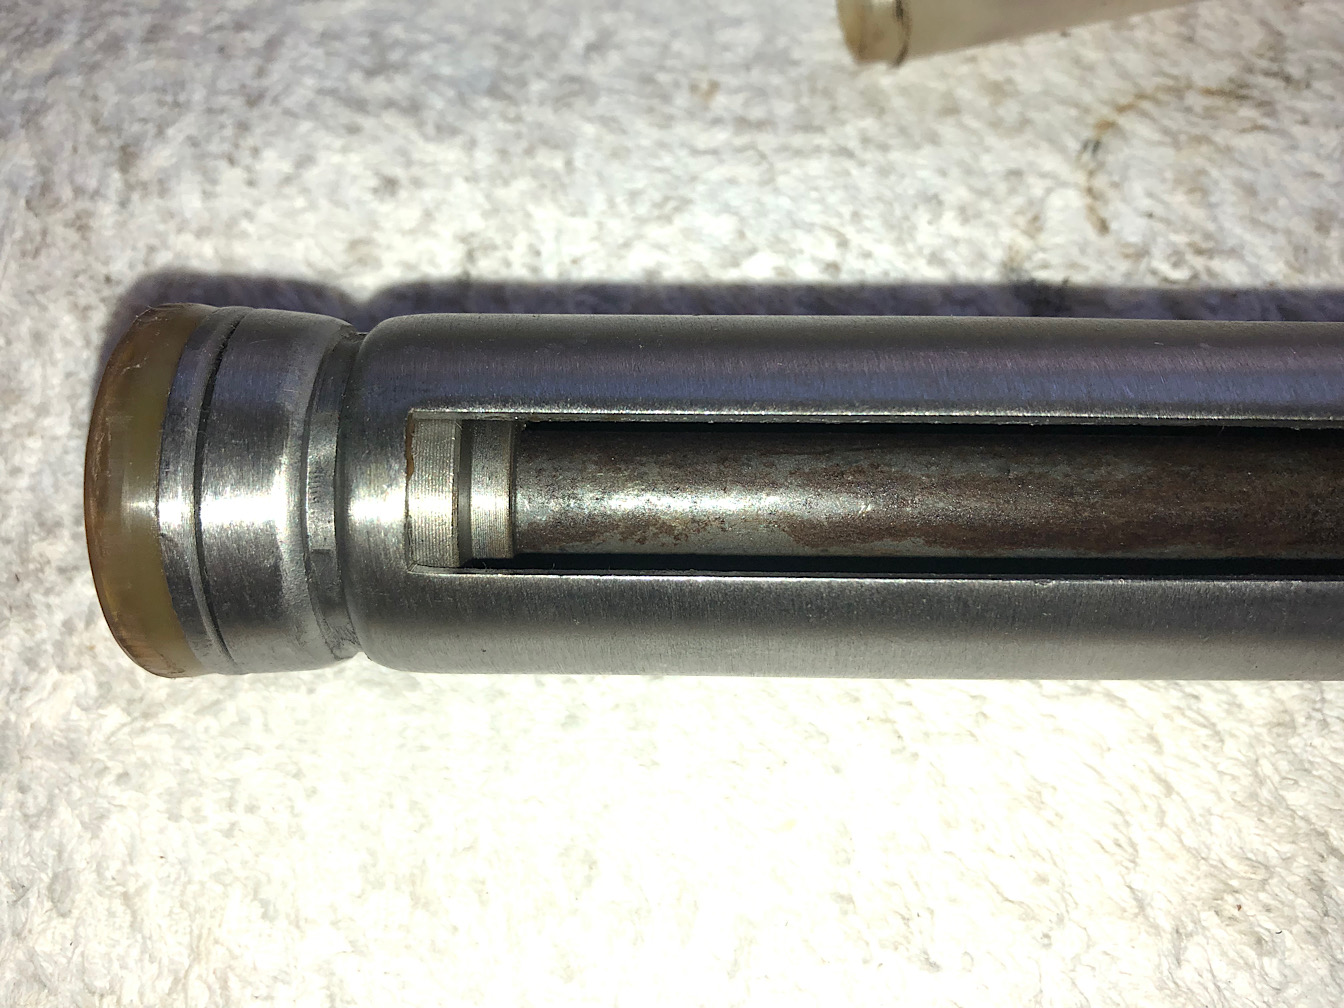
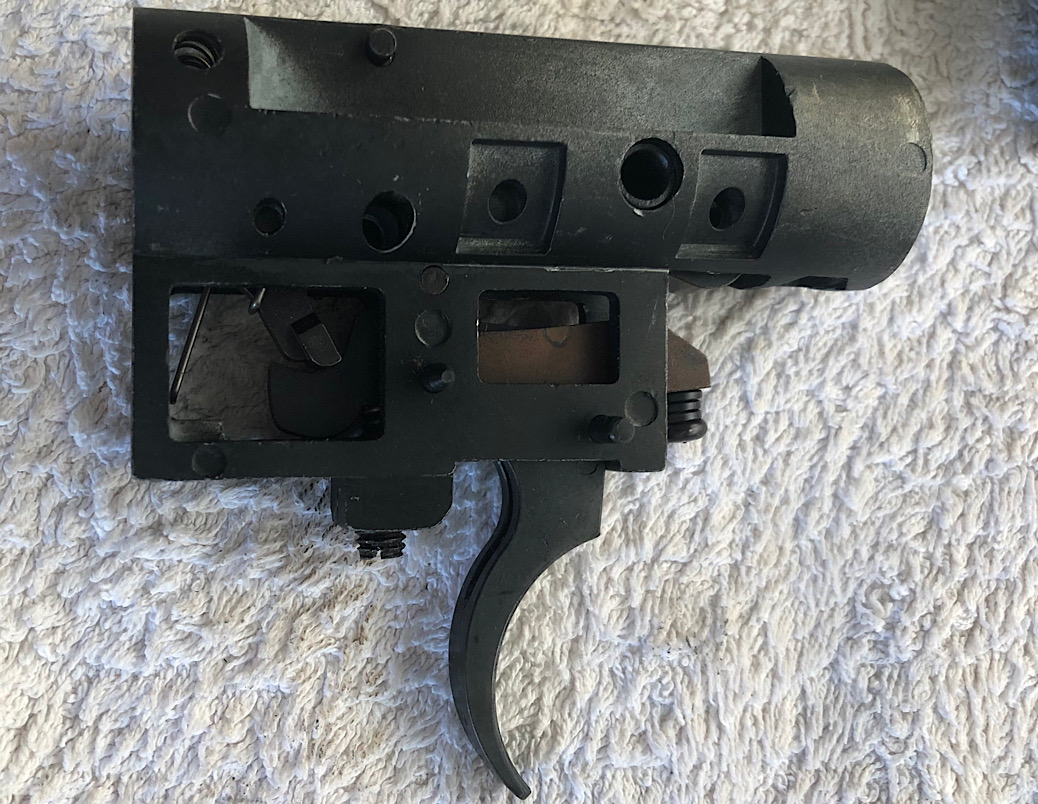
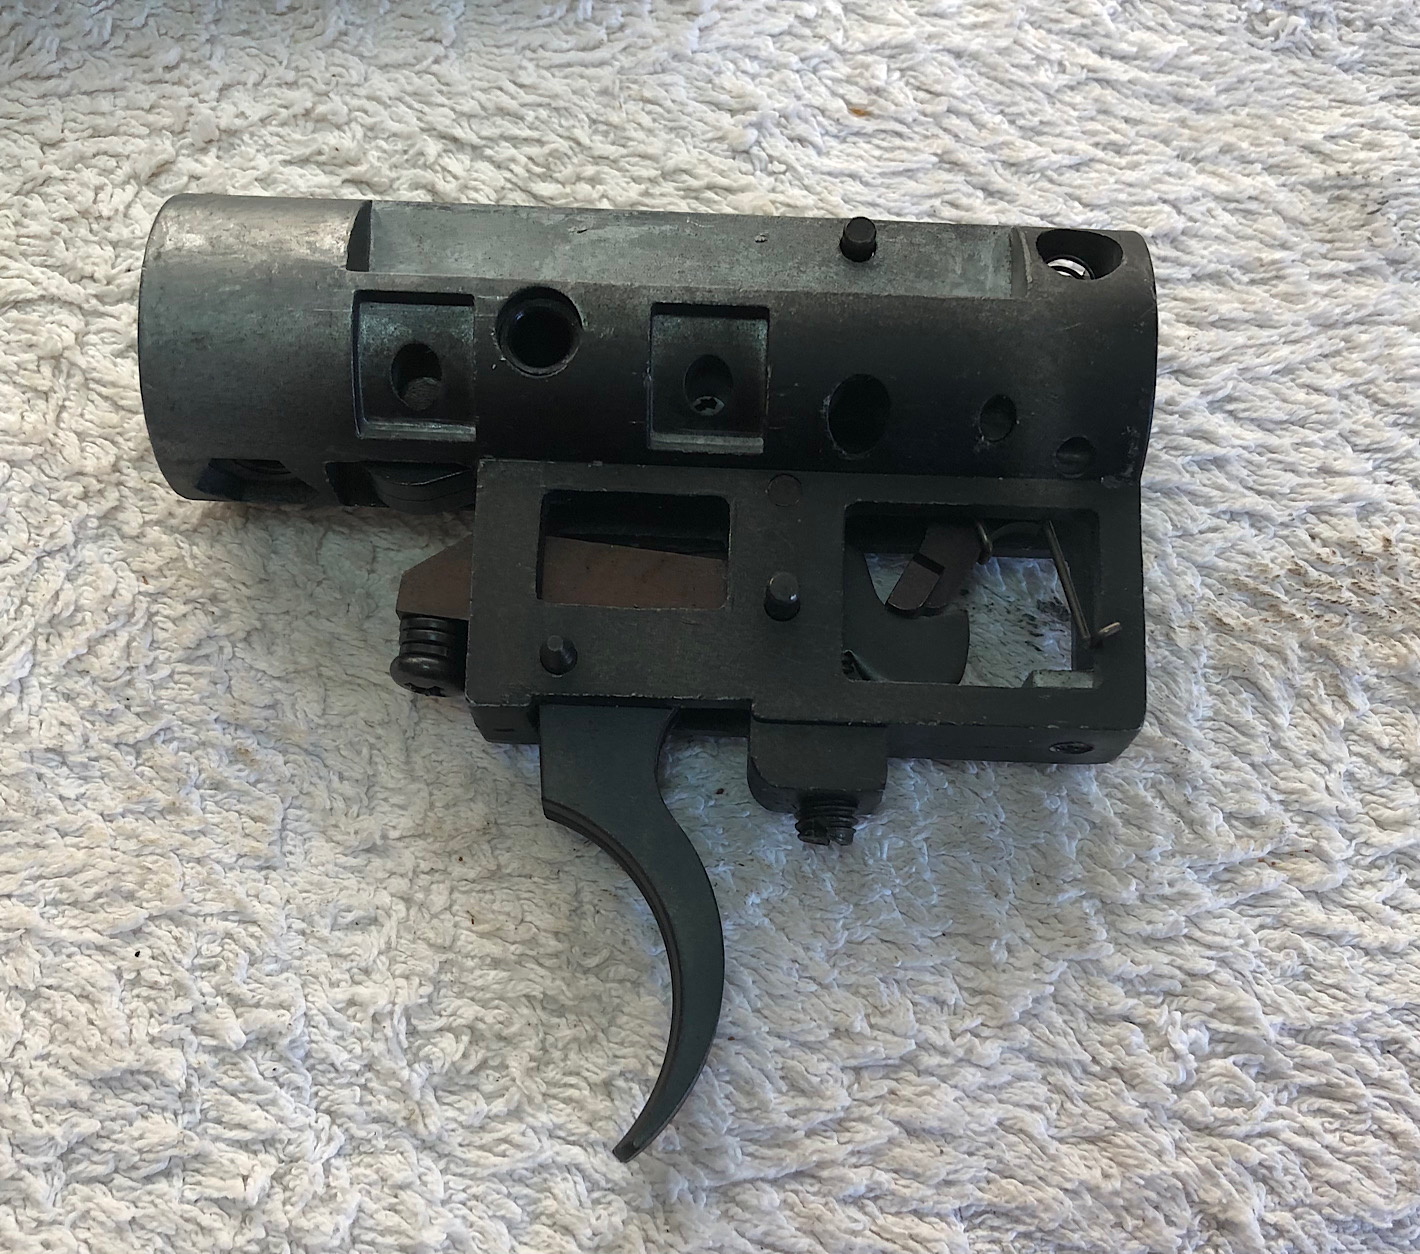
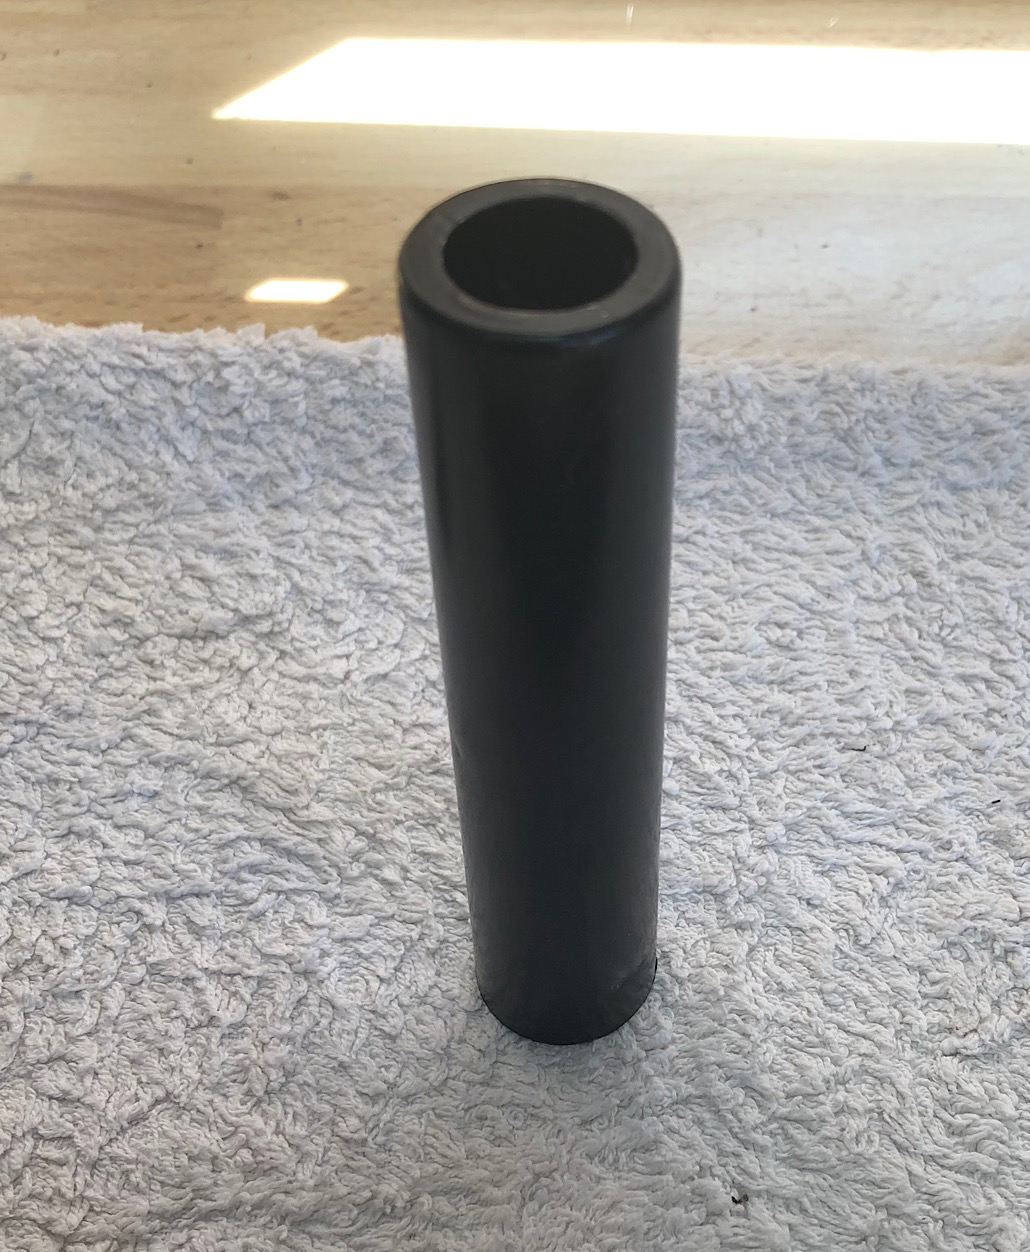
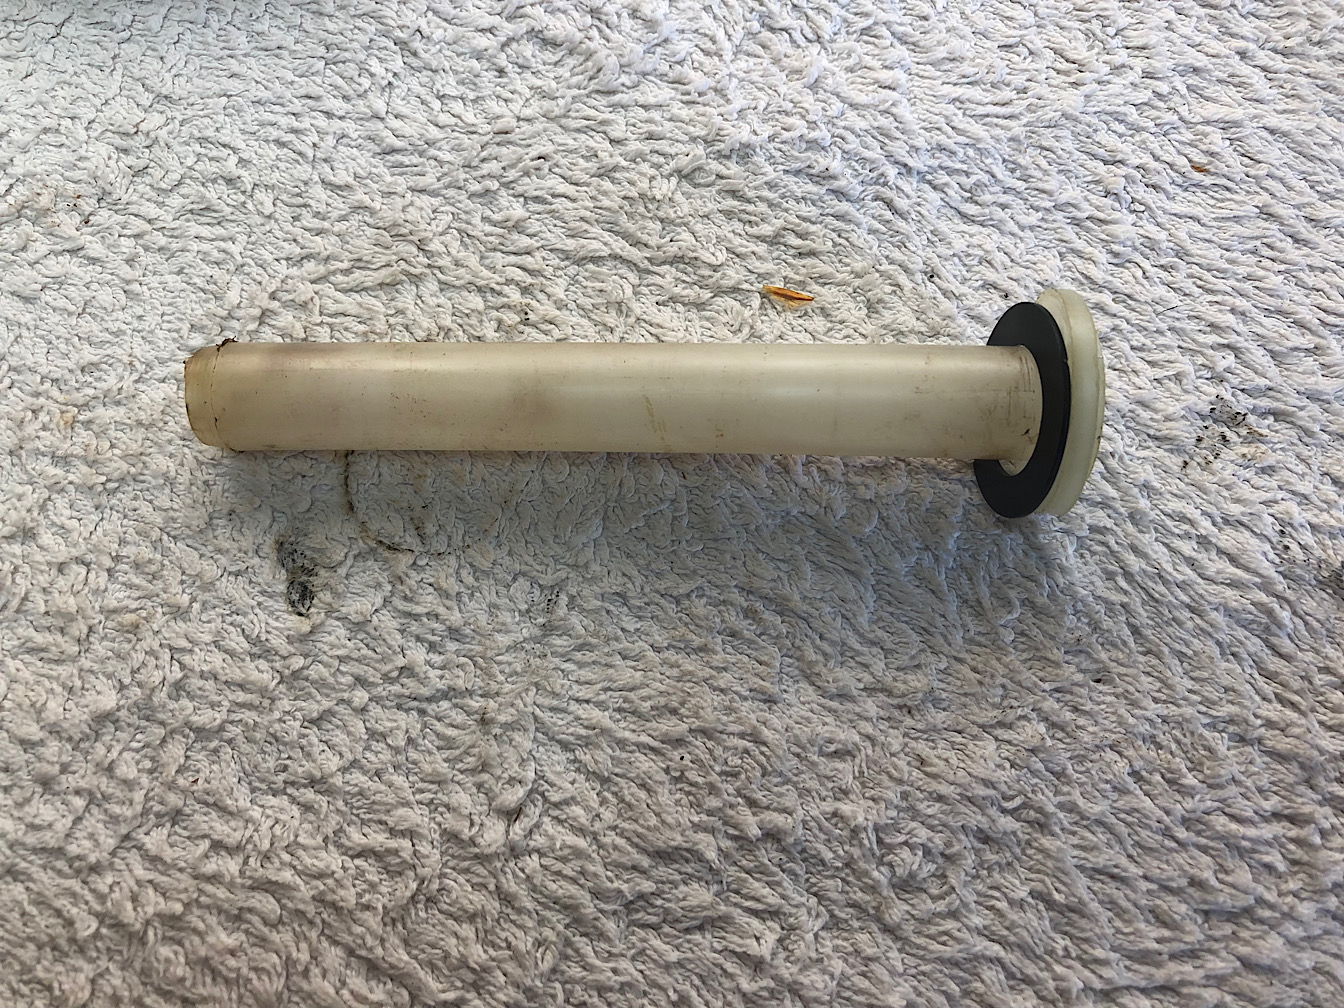
I'm sure you're right with this approach. It's nice to keep the spend low, especially on a budget priced gun. Going by your description of internal finish and lubrication, I'm sure an "old-fashioned" polish and tune will yield a positive transformation. And, as evert says, once hand finished and lovingly reassembled, you'll be sure in the knowledge that all's well inside.. If you can find a way of making up a top hat, I'm sure that will be most beneficial, too.


 Reply With Quote

 )
)")