

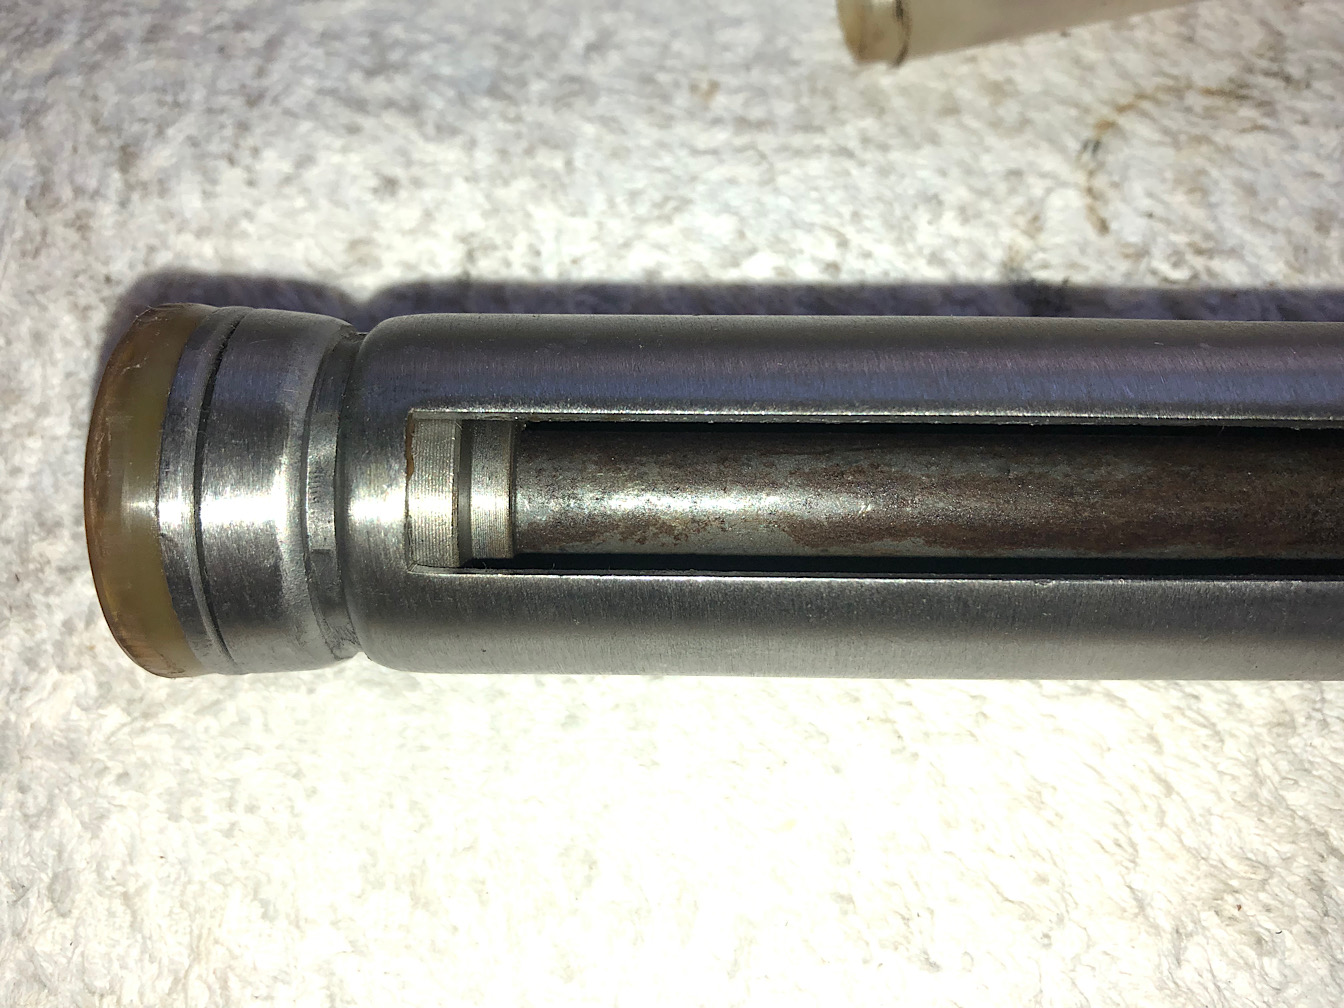
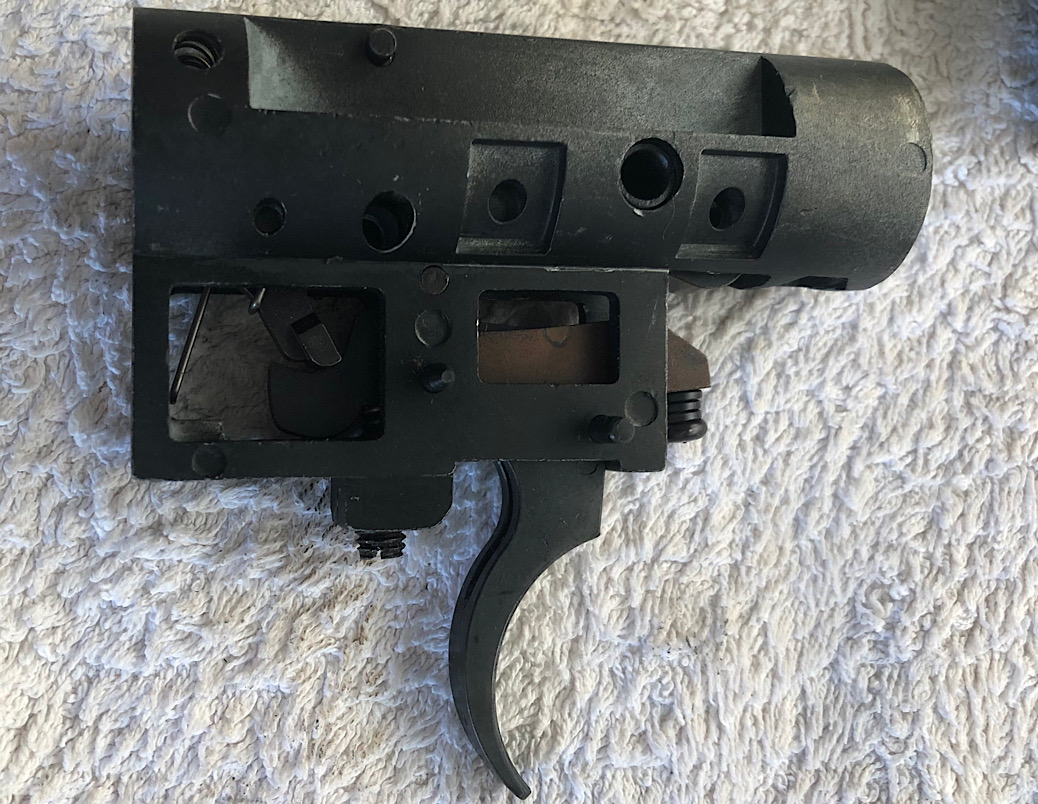
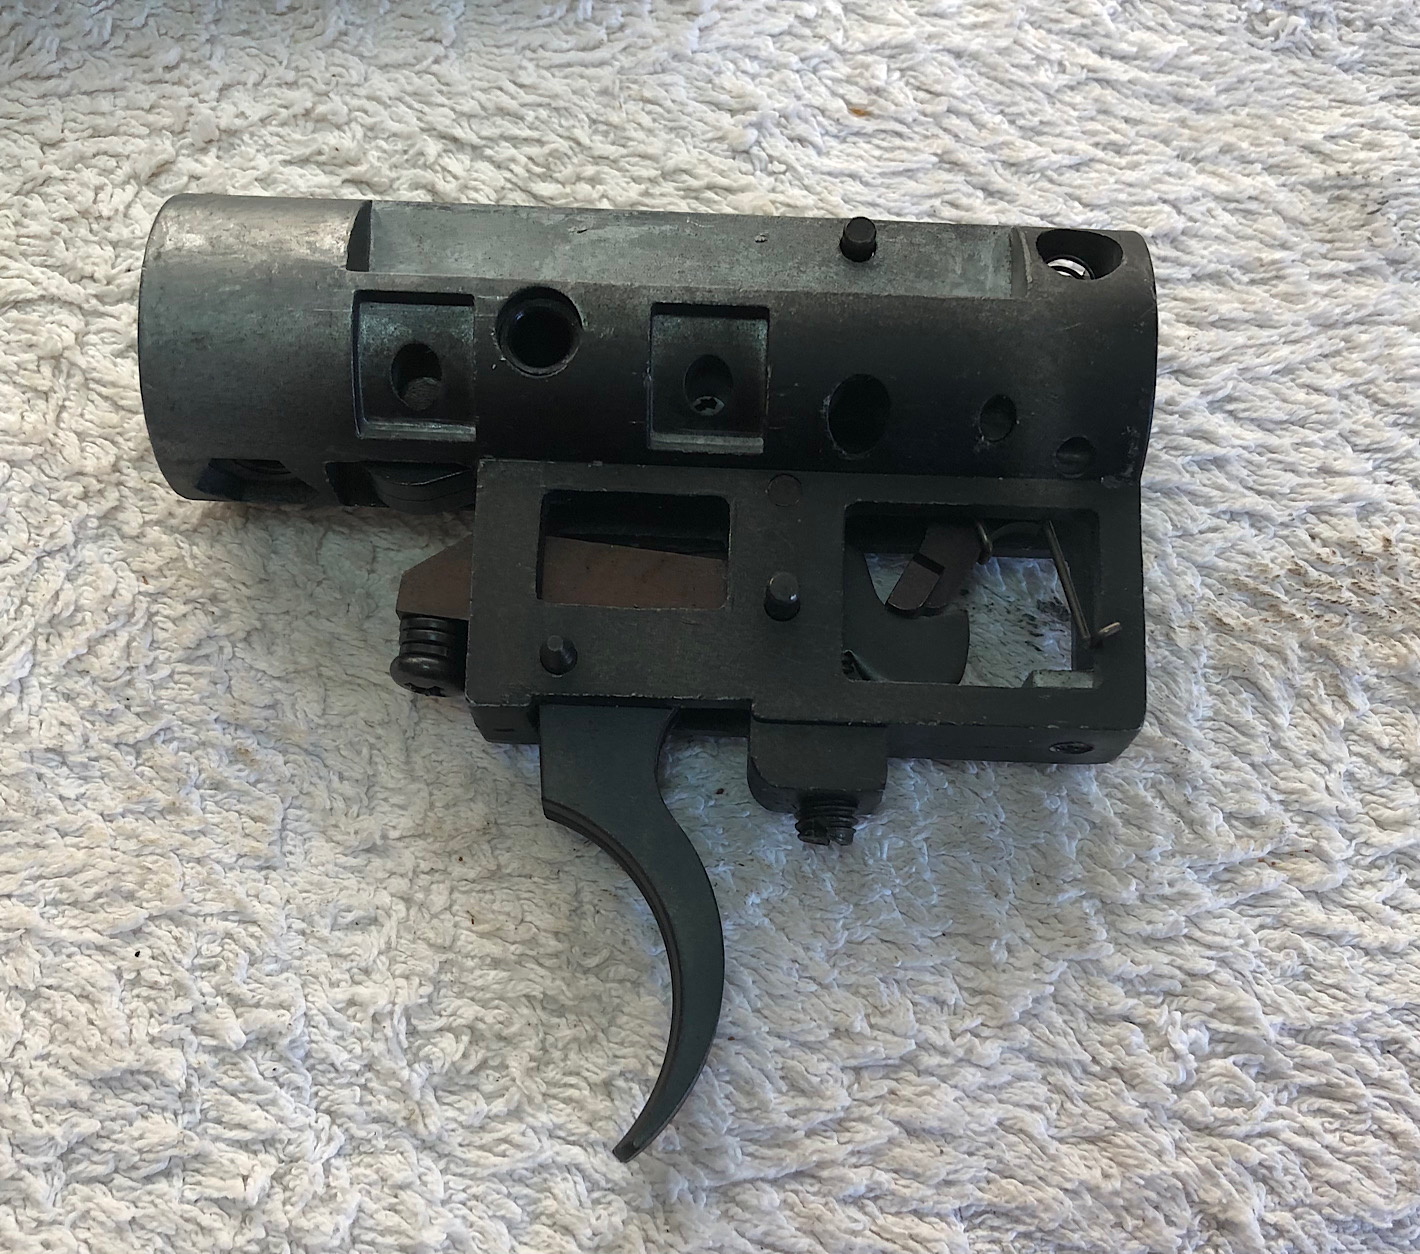
Just to add that contrary to my earlier cursory examination, the inner and outer spring guides are actually quite a decent fit and not too sloppy. Which is probably why it didnt twang too much despite being completely devoid of lubrication
Norm


 #notthemexicangardener
Just to add that contrary to my earlier cursory examination, the inner and outer spring guides are actually quite a decent fit and not too sloppy. Which is probably why it didnt twang too much despite being completely devoid of lubrication
Norm
#notthemexicangardener
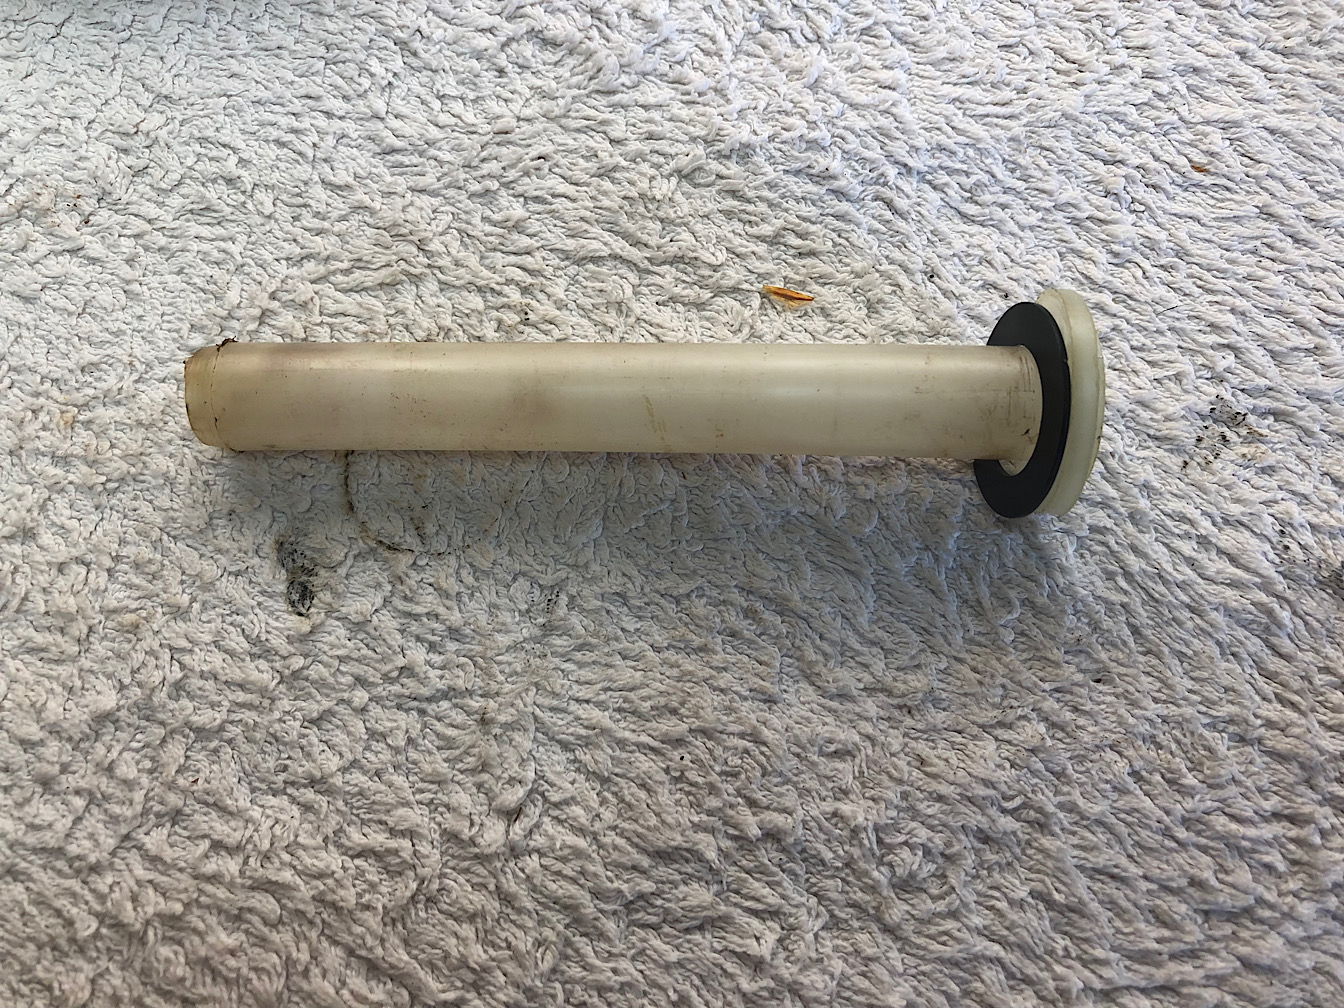
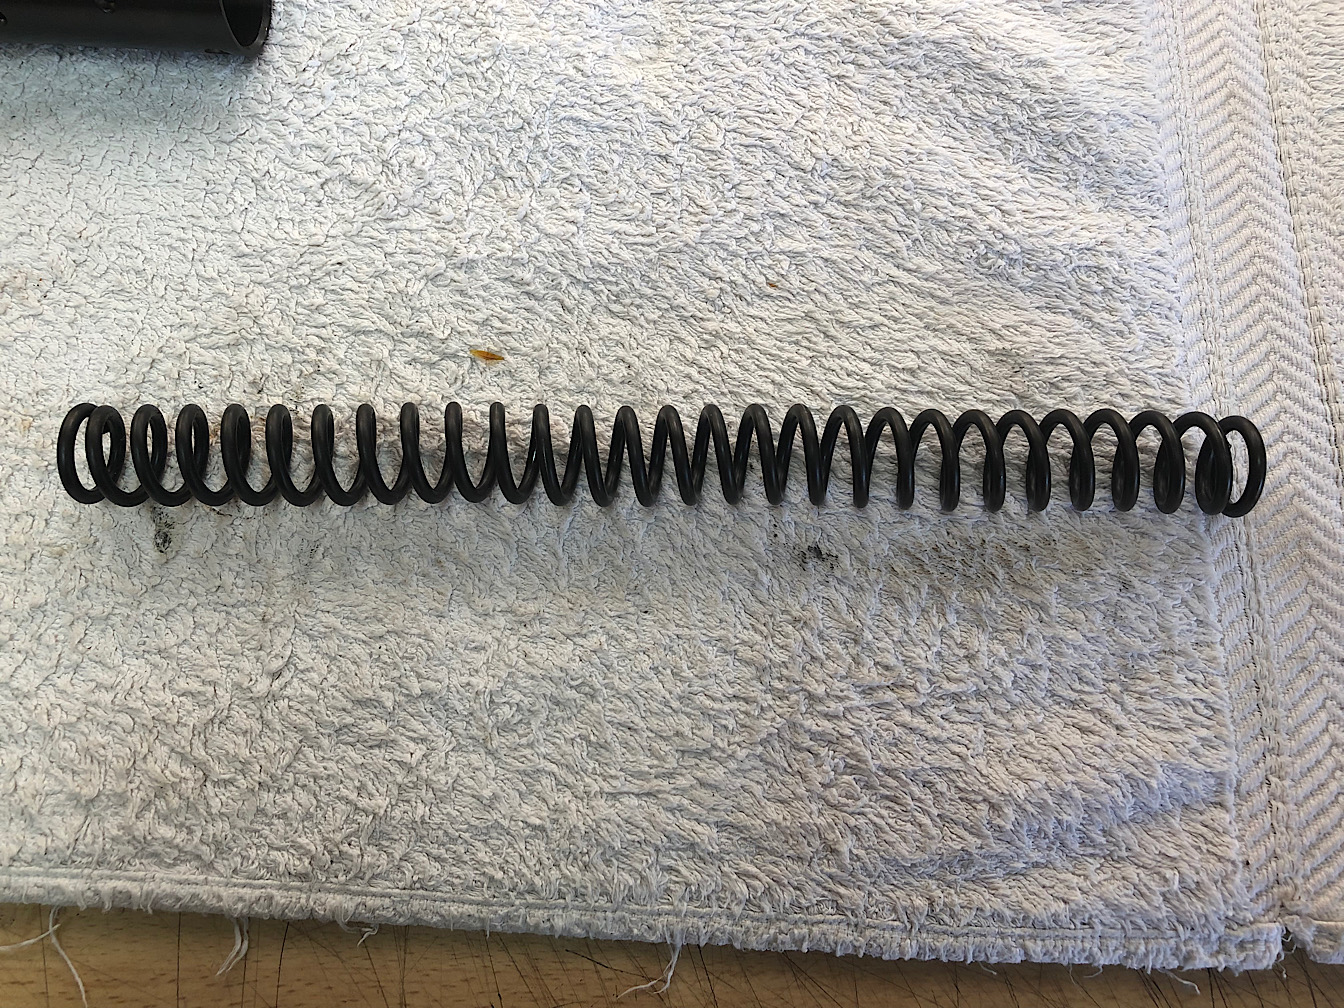
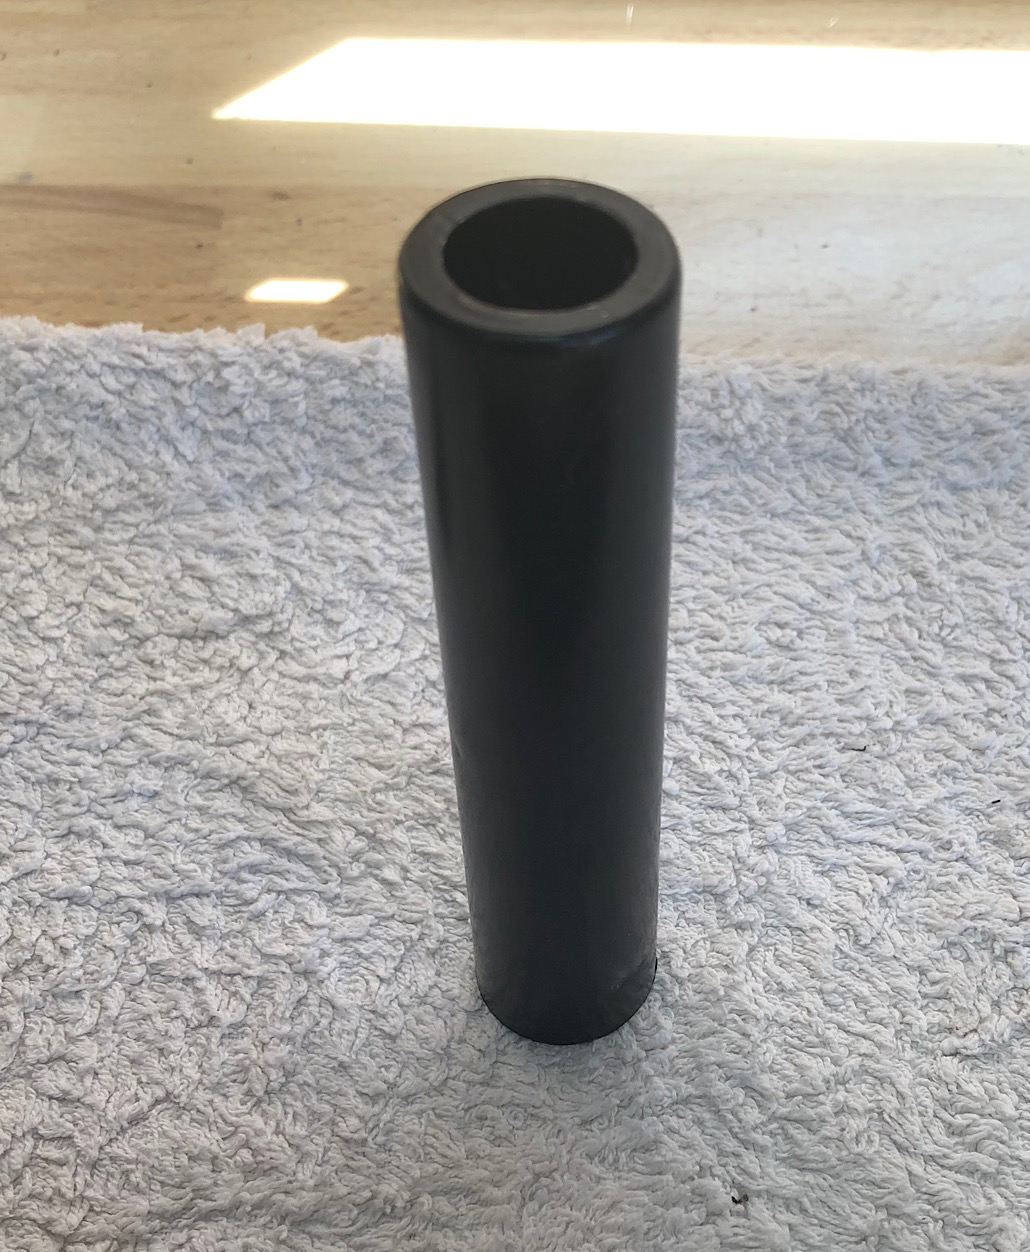
Pics to go with the info above. All the below are taken as they came out of the gun !
Norm
 Zebedee
Excellent detail and pictures, Norm.
Re that extra preload afforded by the top hat, I was going to suggest maybe just collapsing a coil. But, looking at the spring ends (a little "kinked over" or just the picture angle?), I think I might be tempted to take a little off each end / re-grind square? A little bit of polishing and correct lubrication should reduce friction slightly, possibly raising power and speeding the firing cycle up slightly as well as smoothing things out? If a little too much had to come off the spring to "square it up", as you know, some preload washers will sort.
THE BOINGER BASH AT QUIGLEY HOLLOW. MAKING GREAT MEMORIES SINCE 15th JUNE, 2013.
NEXT EVENT :- August 3/4, 2024.........BOING!!
#notthemexicangardener
Thanks Tony, re the spring ends I think its the picture angle. I used my phone to take the picture looked at it and thought it looks odd but the actual spring is straight and the ends are quite good. When I polished them slightly there are some little bits that remained unpolished ( I only did it by hand on some 400 wet and dry with oil on ), so I could carefully grind them a bit flatter, that would lose maybe 1-1.5mm of preload as well which would be a plus.Originally Posted by TonyL

#notthemexicangardener
The replacement piston seal has turned up today so Ill start the reassemble tomorrow. Ive had two gos at making a top hat for the spring but failed miserably each time
The problem is that its such a thin delicate piece to make that Im finding its beyond my machining capabilities
I made the first top hat ok but then it went pear shaped when I tried to drill the 11mm hole down the middle, then I tried to do the hole first then machine the head and shaft, that failed as it was too thin and wouldnt hold in the lathe properly.
Ive decided that if I can ensure the spring ends are perfectly squared off and polished and I use the ptfe(?) preload washer inside the piston sleeve then the spring when suitably lubricated should run smoothly enough. ( it certainly cant be any worse than it was ! )
Norm
Zebedee
Like you say, Norm, it's going to be much nicer than before anyway due to the hand finishing / smoothing out / relubing anyway, so all wouldn't be lost. If you possibly could, though, that top hat would give even more support and aid refinement. I wonder if you could insert a small "stack" of suitably sized washers into the piston nose, giving a nice, flat bearing surface and then an easier prospect for turning up the top hat? Although you'd then need to further reduce the spring due to that extra preload..And, if you were to proceed, also ensure that there's enough clearance between the top hat and guide to still allow cocking, as per your previous build.
THE BOINGER BASH AT QUIGLEY HOLLOW. MAKING GREAT MEMORIES SINCE 15th JUNE, 2013.
NEXT EVENT :- August 3/4, 2024.........BOING!!
#notthemexicangardener
Well, if at first or second you dont succeed, and not wanting to let you down I decided to try a third time !! I finally managed to make a very nice top hat which is a perfect fit both in the spring and inside the piston sleeve
It has to have a short stub as the existing spring guide is quite long, and I may have to cut the chamfered end off the guide to ensure it doesnt foul on the top hat.
My next concern, and this is where I need some guidance, is the new piston seal. I finally managed to fit it after leaving it in very hot water for 5 mins but its very tight in the cylinder, so much so that where it has to clear the various cutouts in the cylinder I had to use a small flat screwdriver to push the seal down past themAt this point I pulled it back out as I dont think it wouldve come if it had been pushed in all the way
I only inserted it up to the beginning of the cocking slot as Im thinking its way too tight and somehow needs to be altered ??
Can anyone suggest how I do this please as I do not want to bugger it up
Cheers,
Norm
 Posting Permissions


 Reply With Quote
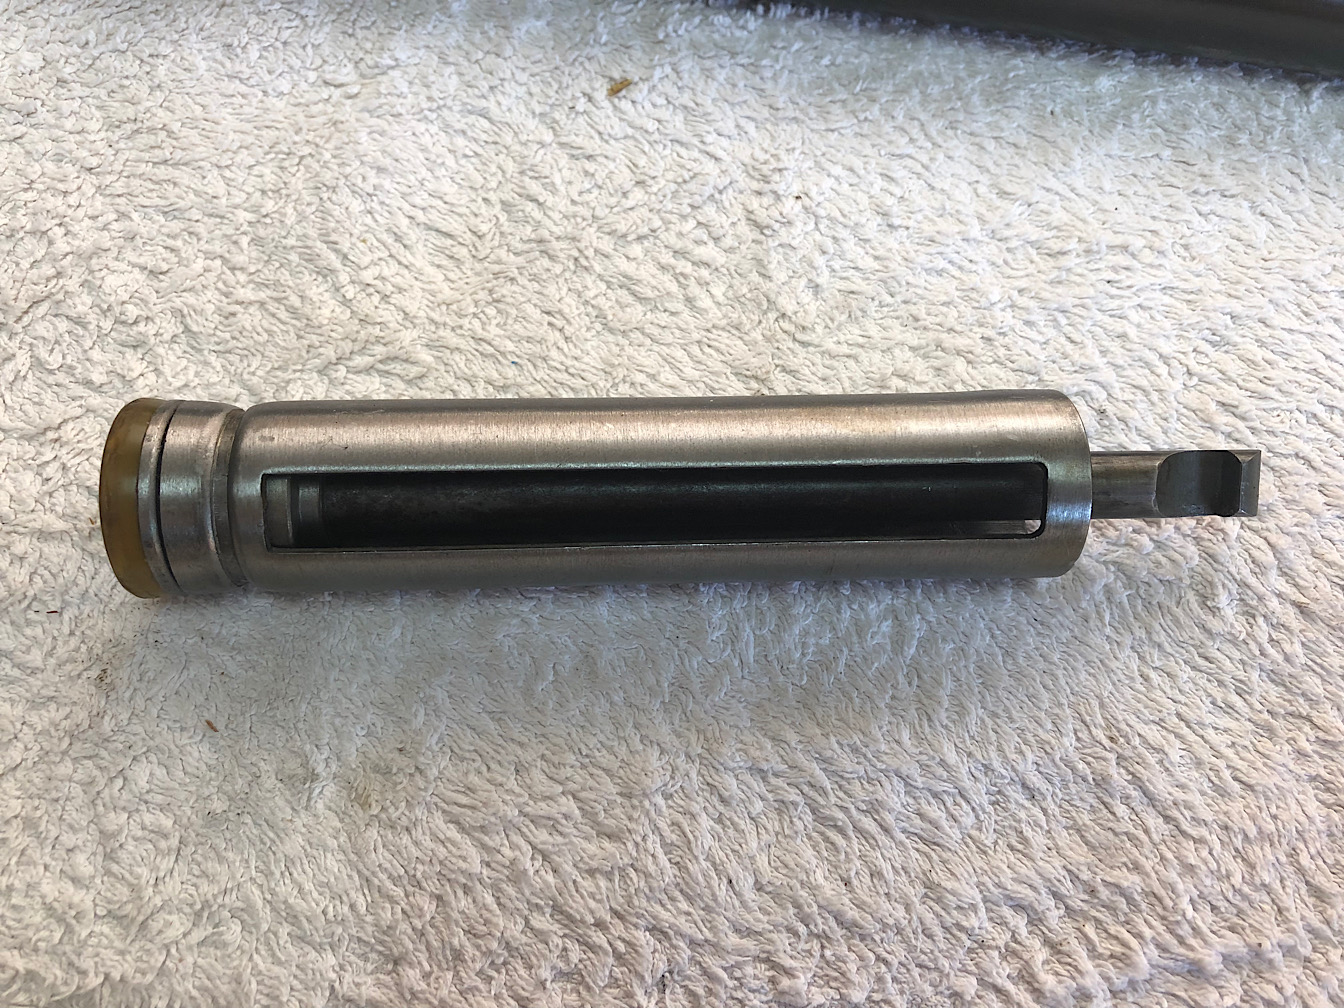

")
