Originally Posted by
TonyL

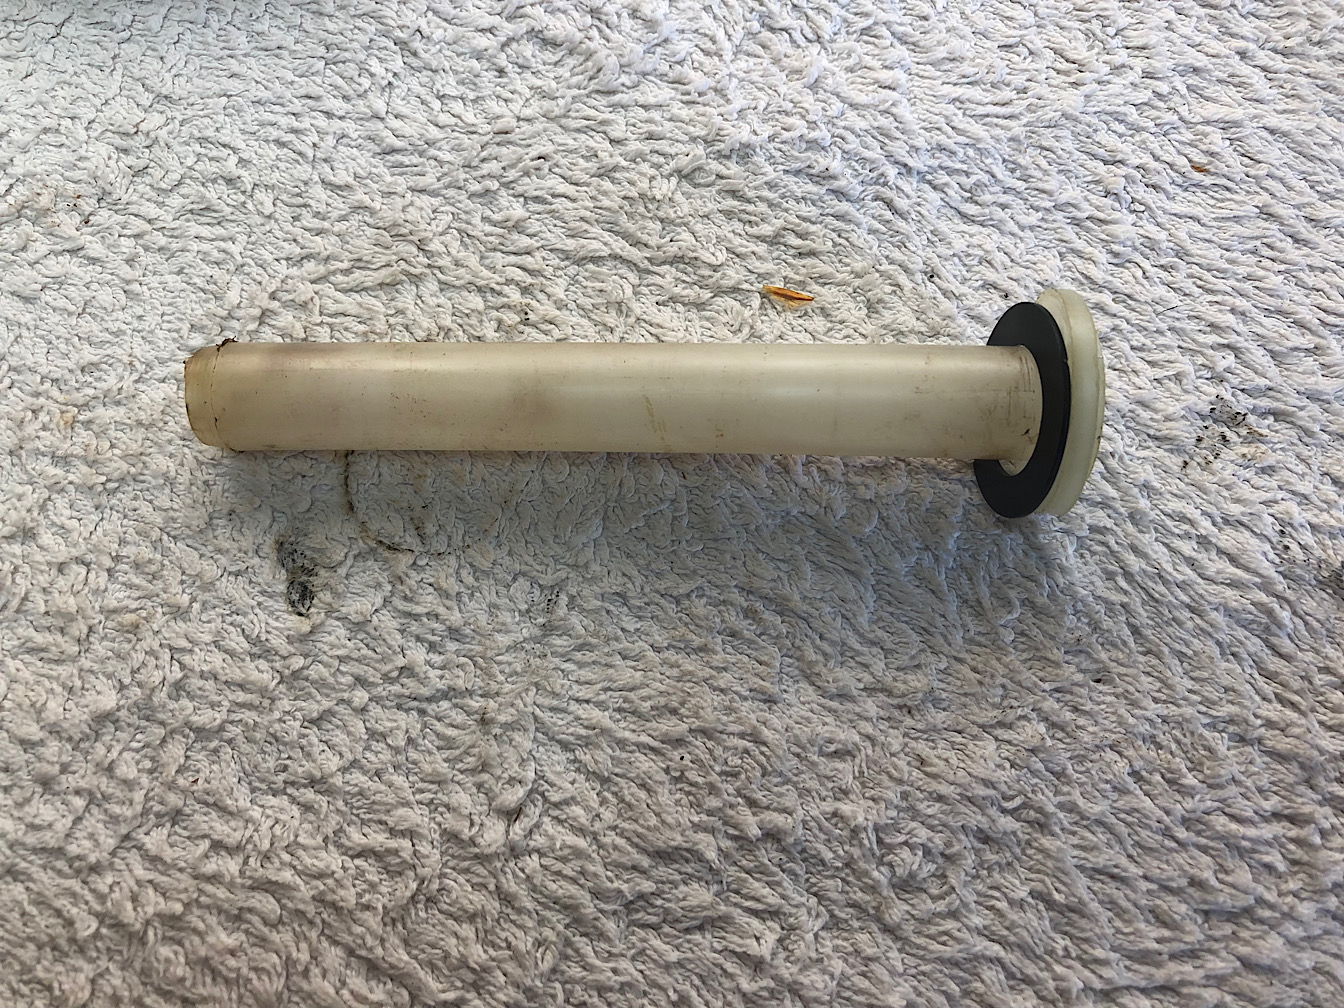
Like you say, Norm, it's going to be much nicer than before anyway due to the hand finishing / smoothing out / relubing anyway, so all wouldn't be lost. If you possibly could, though, that top hat would give even more support and aid refinement. I wonder if you could insert a small "stack" of suitably sized washers into the piston nose, giving a nice, flat bearing surface and then an easier prospect for turning up the top hat? Although you'd then need to further reduce the spring due to that extra preload..And, if you were to proceed, also ensure that there's enough clearance between the top hat and guide to still allow cocking, as per your previous build.


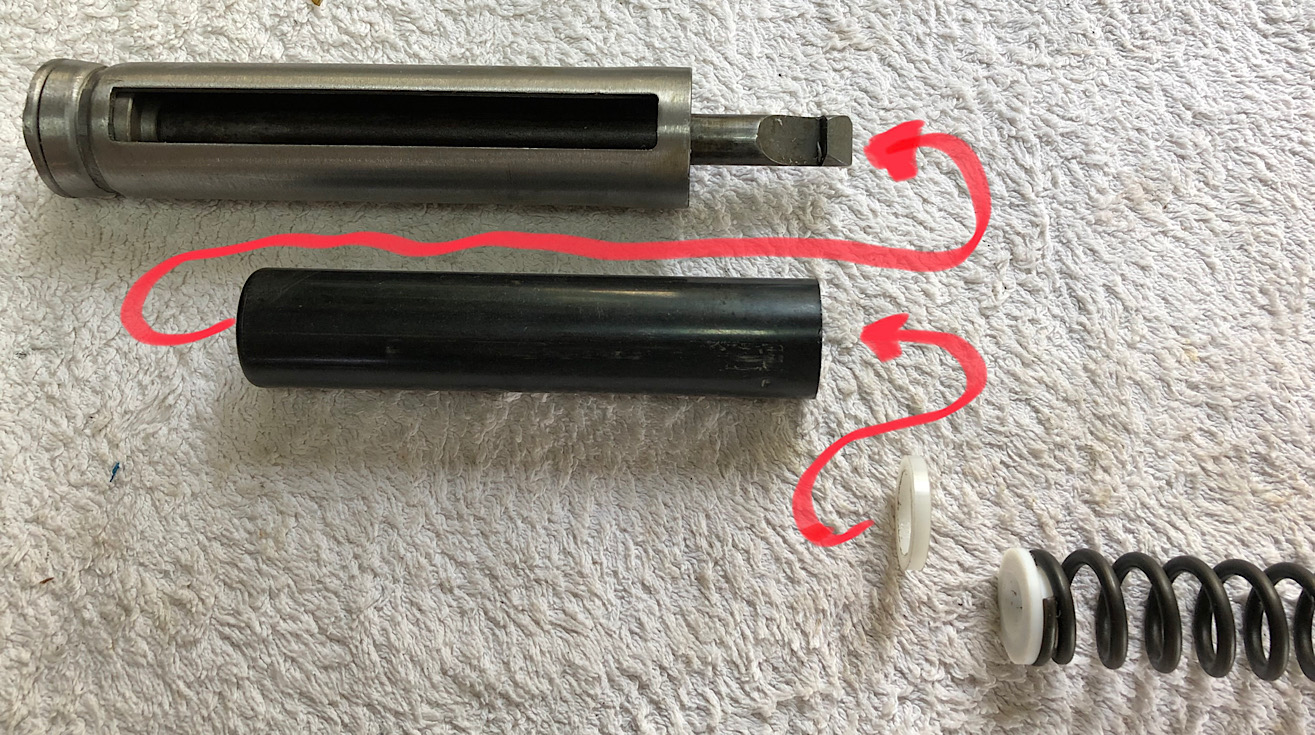
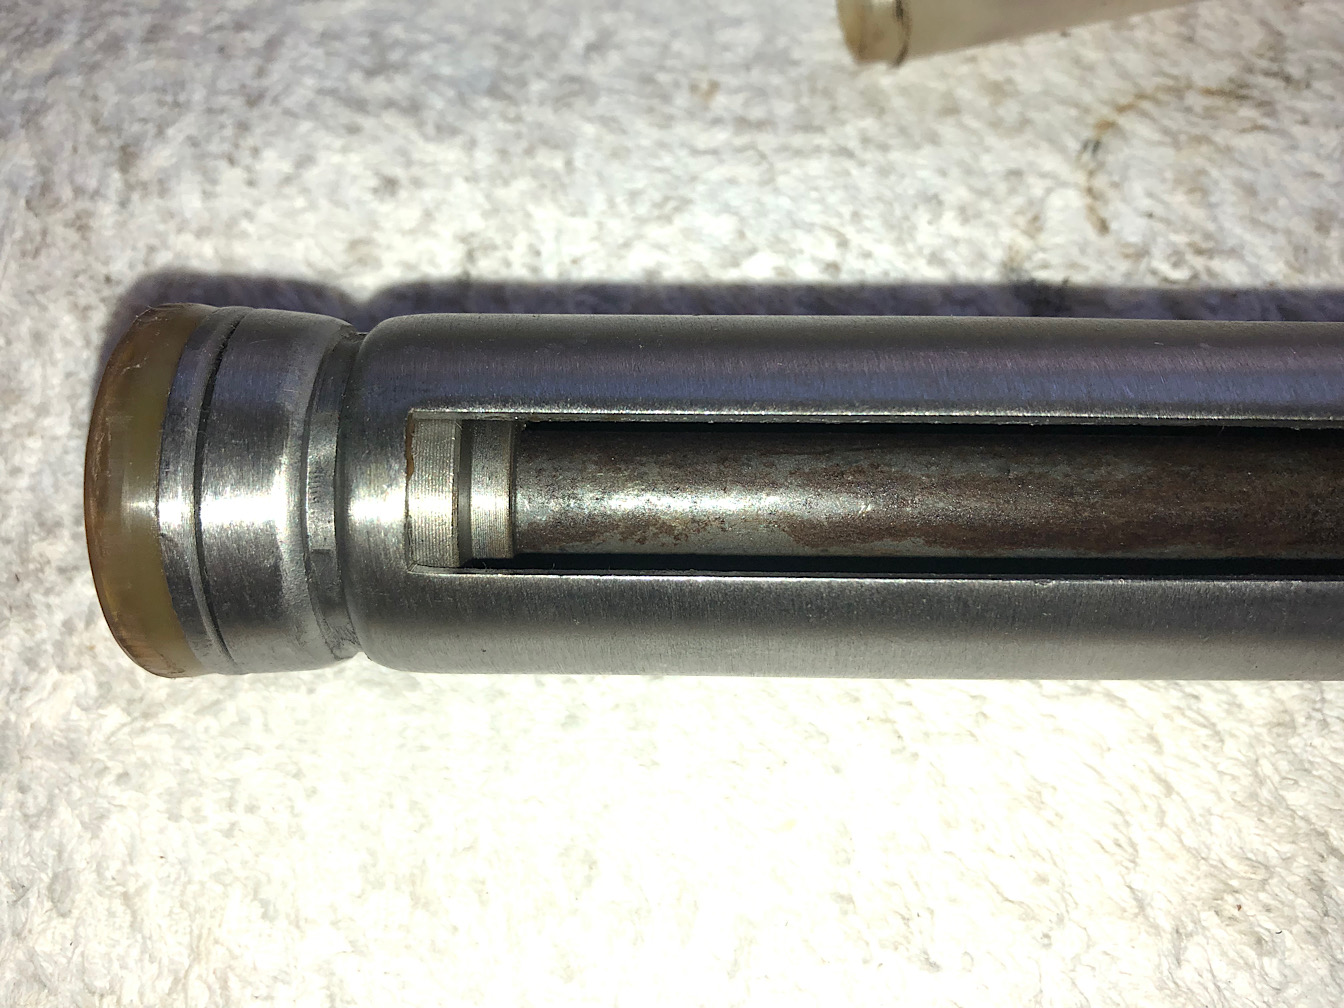
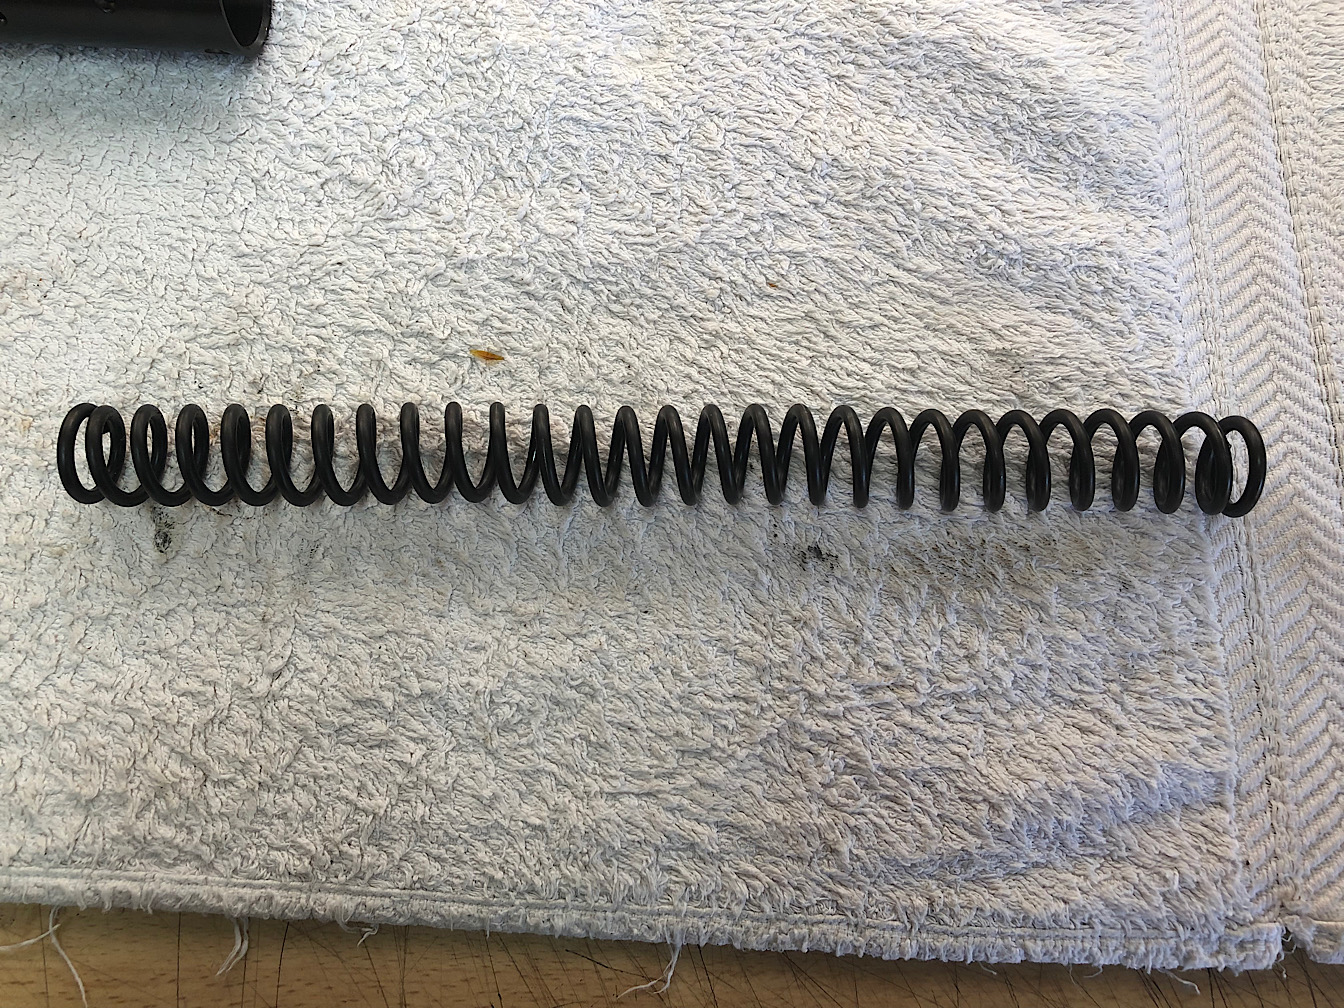
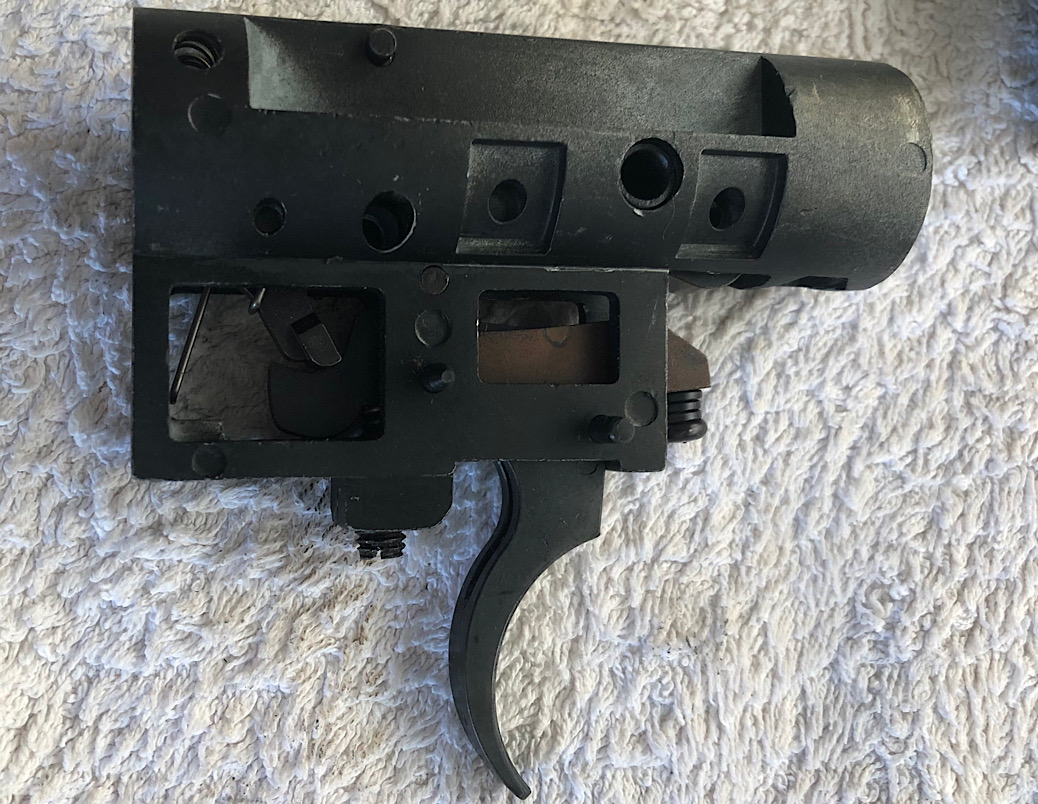
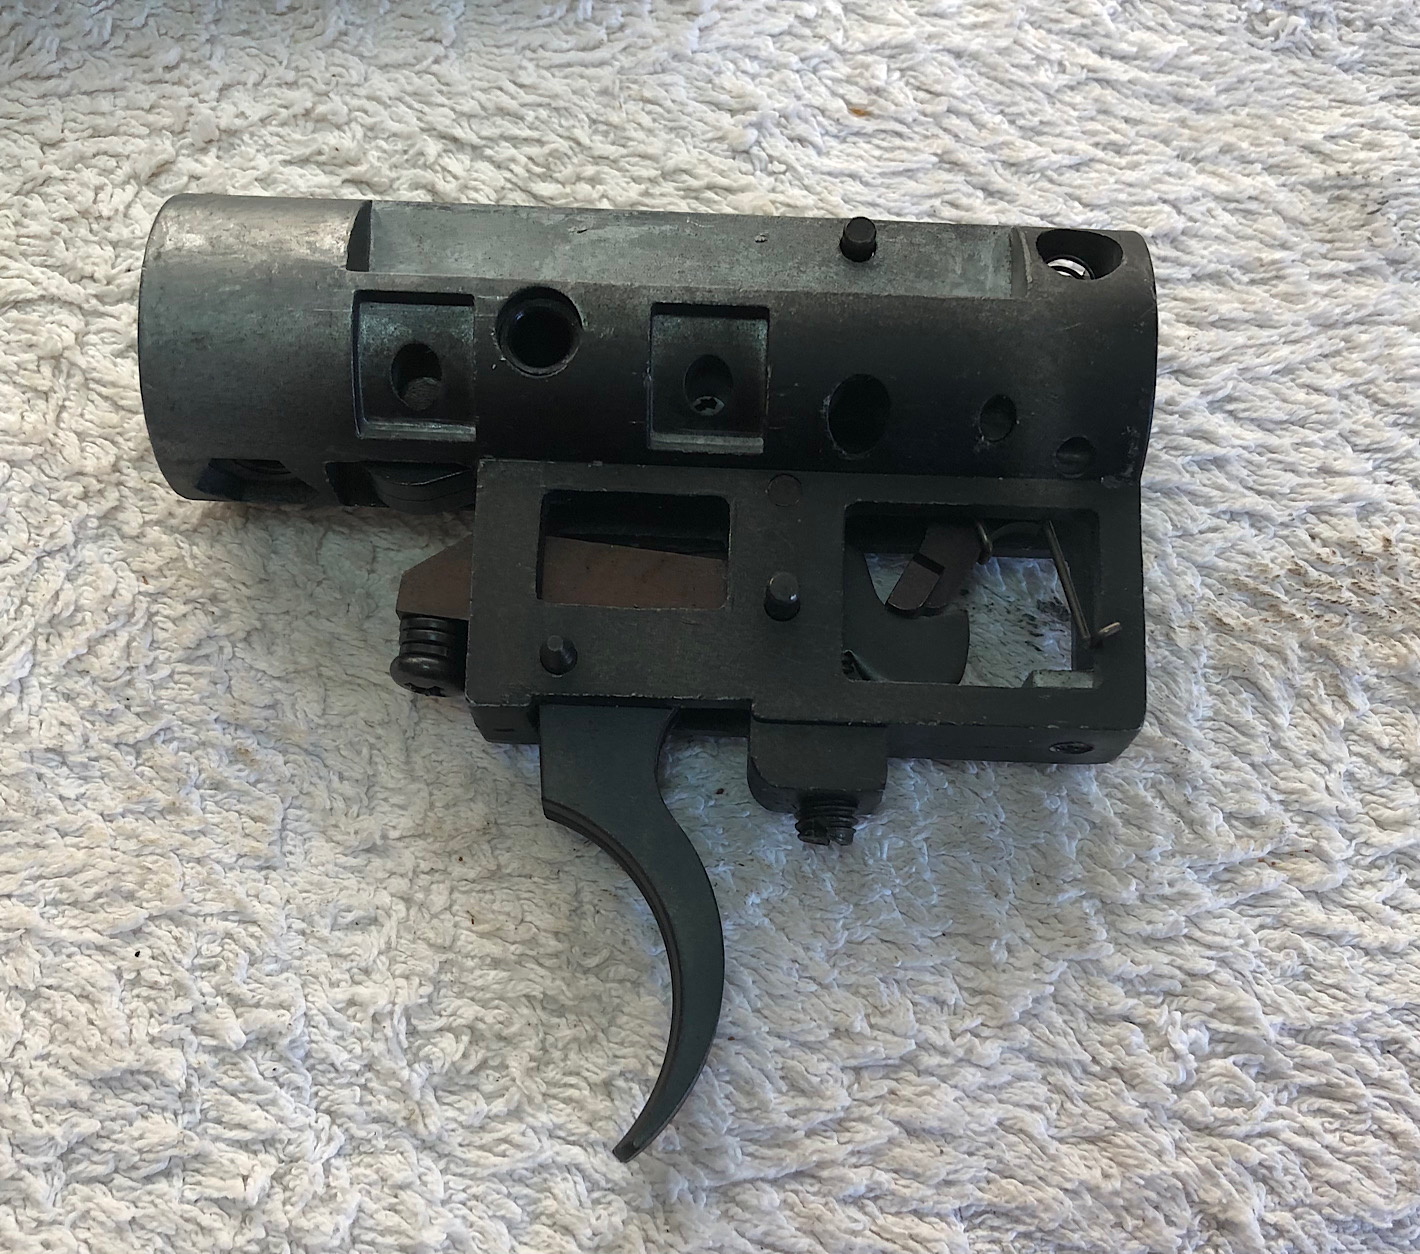
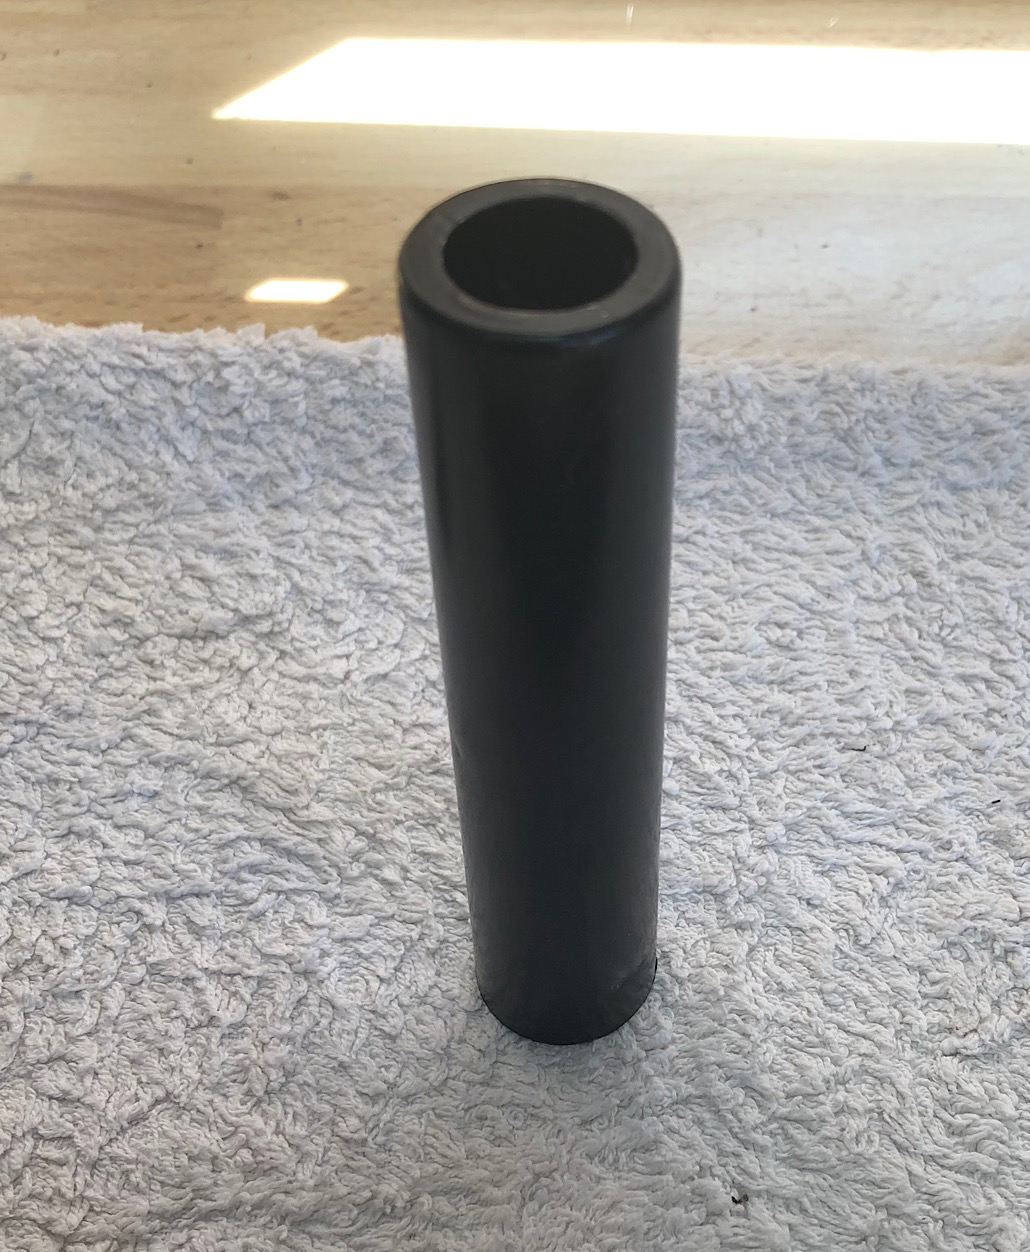
 . All the below are taken as they came out of the gun !
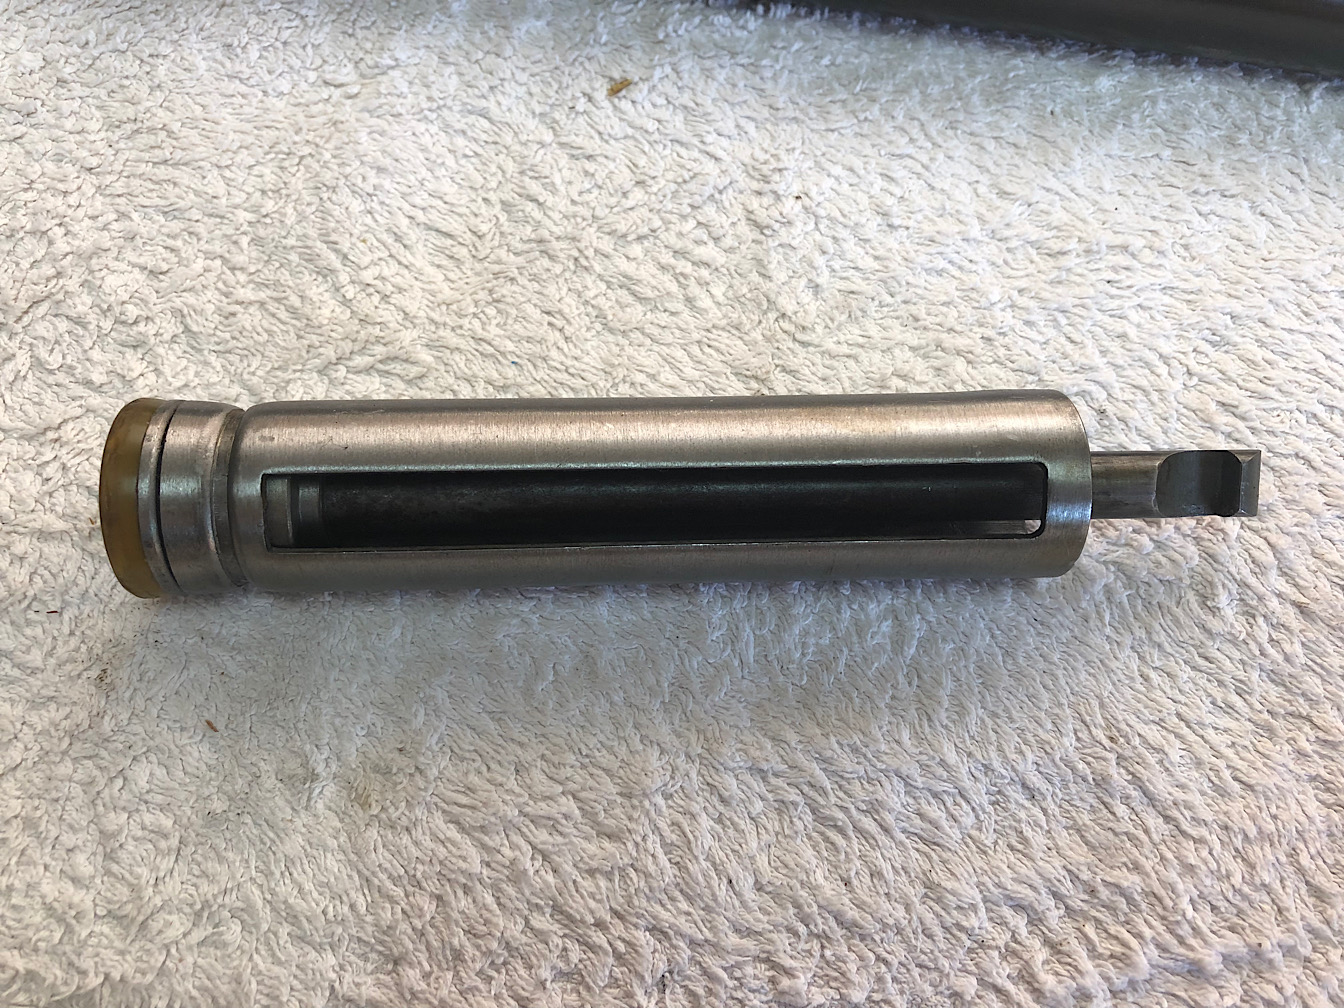

 Reply With Quote


")